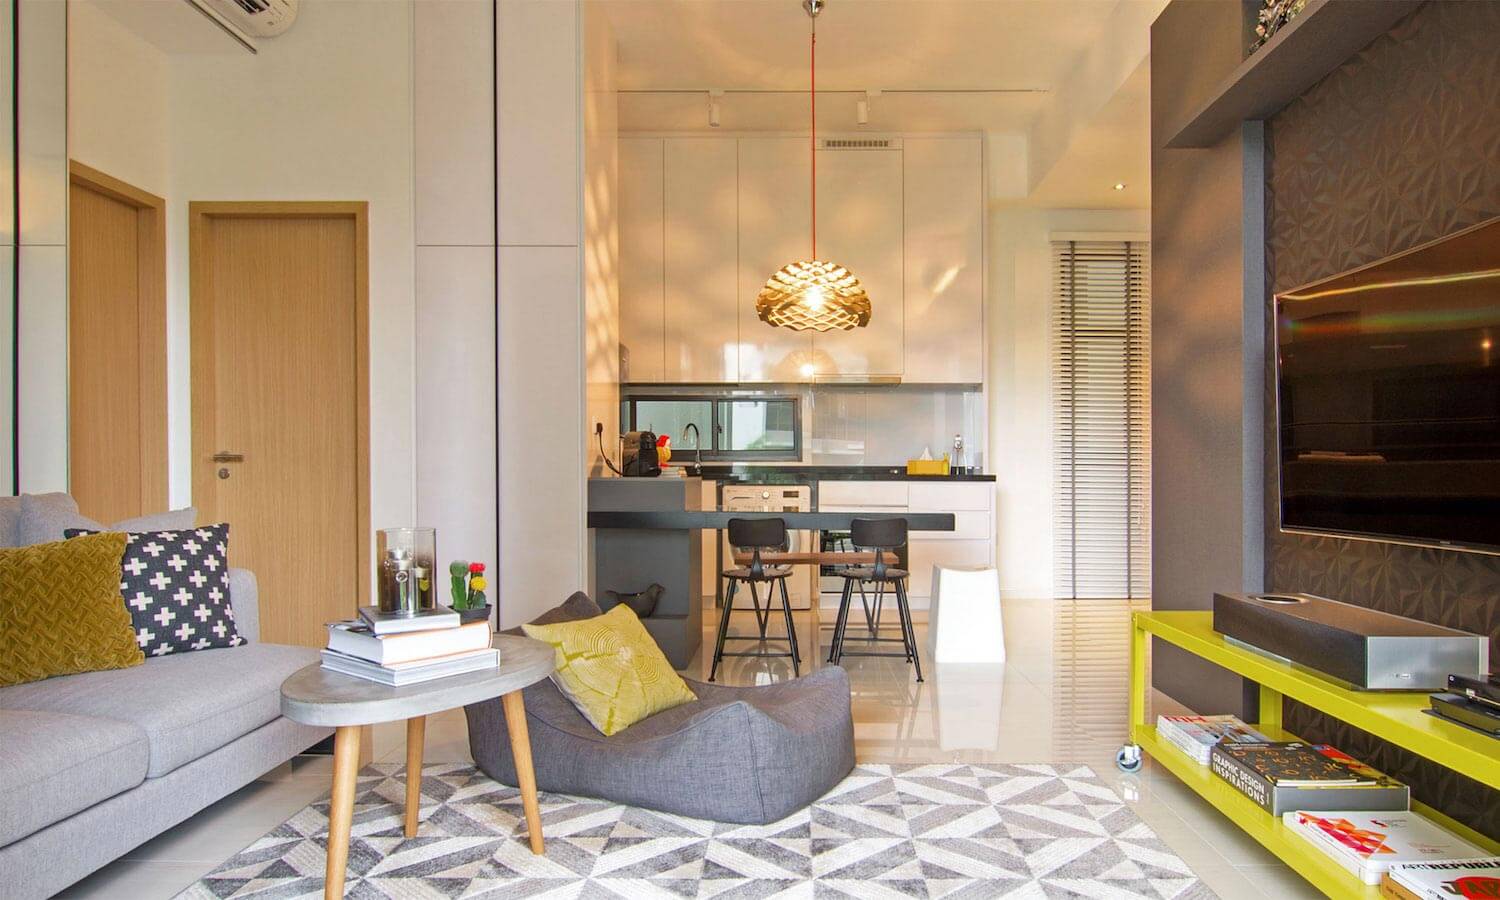
Where I grew up the kitchen in the house was lit by a single fluorescent ring bulb fixed in the middle of the ceiling like most kitchen lighting back then. When you clicked it on for a midnight snack, it was too bright and it was too dim when it came to reading the print on the package of the Nestlè chocolate chip.
But somehow it worked.
In modern times, “workable” just doesn’t cut it. Now, kitchens serve many functions like it can be used as a family room dining room, and office. Kitchens have more lights than in any other room in the home. We need a wide range of lighting to create a beautiful environment for all our activities such as cooking, working, playing and so on. A well lighted kitchen can prevent eyestrain and accidents.
you might afford the luxury of seeking the services of an architect or designer to get your lighting and wiring in perfect order especially during the course of remodeling a kitchen or building a brand new home. Below are easy ways to improving a kitchen lighting without much expense, hassle and dust. Here are a few of the easy lightening tips.
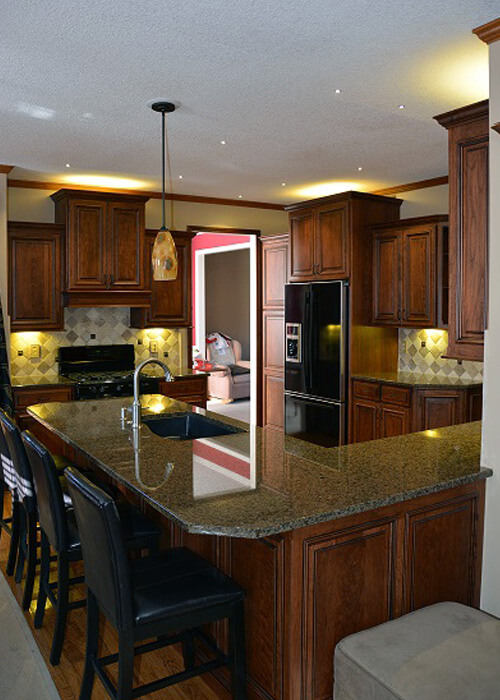
Add undercabinet lighting
Your body and the upper cabinets hinder the lights from reaching the countertops and the solution is under cabinet lighting. Just install lights underneath the upper cabinets to illuminate those cookbooks and cutting boards thereby avoiding working in dim shadows.
It comes in three varieties:
Fluorescent lights these lights cast an even light, plus it is affordable and lasts long. It is also available in different lengths to accommodate different cabinet widths. Most designers warn that Fluorescent lights can create an “unappetizing” glow when used in proximity to certain strong countertop or wall color. The T-5 fluorescent bulbs give good illumination without being obtrusive.
Halogen lights, Halogen light looks like sunlight. It is bright and easy to work with. It can be in a form of small discs or pucks, highly focused light. There are recessed fixtures and surface-mount available.
Incandescent lights come in wattages and configurations. Used for ambient light and tend to be of lower wattage. Used toward the front edge of the cabinets and no matter the type of lighting you can choose it because it illuminates the whole countertop rather than the wall. To keep light from shining directly in your eyes, install a 1- to 2-in valance along the lower edge of the cabinet. minimize harsh reflections by using frosted bulbs or lenses over the bulbs to that is if you have shiny countertops.
The cord of a plug-in-type fixture cannot be secured to the cabinet or wall with staples or other fasteners permanently but it can be draped over an open-ended hook, according to electrical code. as shown in Fig. B2. A more permanent solution is to install lights that can be “hard wired” directly into the home’s electrical system and controlled with a wall switch, like the fixture.
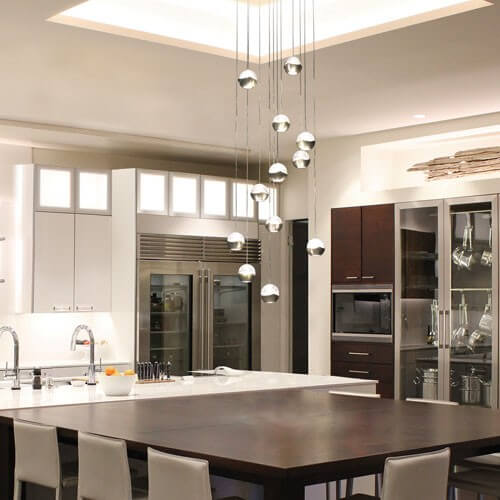
Install track lighting
In deep corner units, a single overhead fixture does a lousy job of casting light inside cabinets but gives great lighting for navigation and general cleaning. To install a new track lighting system, you can start with the electrical box.
Track lighting—it comes in fluorescent, high- and low-voltage halogen and incandescent versions. They come in T-, L- and X-shaped connectors that allow you install lights in a number of configurations, now you can focus and direct light wherever you want. The multiple specialized fixtures allow you to customize and rearrange your lighting as needed. For task lighting, general light or mood light, you can use reflector-bulbs for specific areas and there are a lot of systems that have adapters for pendant lighting also.
Make sure you position them where they wont shine directly in your eyes, after you have selected your fixtures. Your head will block the light especially when you install fixtures directly in line with work areas and sinks. Just position them toward the target spot, so that they won’t interfere with the swing of upper cabinet doors and since track lighting fixtures are so eye-catching, choose one that will flatter your kitchen.
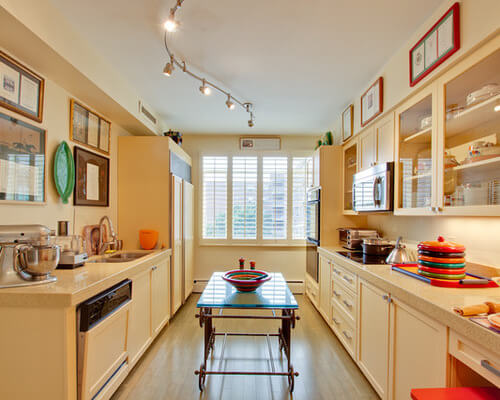
Add or upgrade recessed lighting
Look inside the can for the manufacturers name and the model number. Make sure your new trims are produced by the same manufacturing company. So that the trim is compatible with that specific “can.” these lights are directed to the most needed areas.
Installing these lights in all the room perimeter because they always illuminate cabinet fronts, walls and so on. these are areas where lights are not required. Almost all recessed light can be fitted with a variety of trims ranging from the wall washers and basic cylinder, these versions allow you to direct light inside of cabinets or specific areas of the countertop where they are needed. The installing job takes only a few minutes and the cost to swap out is cheap.
Change to better bulbs
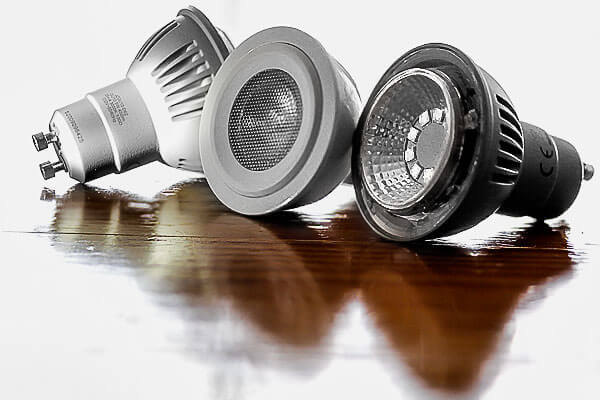
Your lightening can easily be improved with an easy light bulb switch as seen in Fig.D. Light fixtures usually come in varieties, a narrow spotlight bulb had the ability to focus beam to 12 degrees for narrowed light. Only a fraction of the light will be provided once a standard light bulb is mistakenly placed in a wrong area. A bulb’s capacity is affected by distance. It is important that all lights are kept close to the work surface as you possibly can. More light is focused when a bulb with higher wattage is used.
Add a dimmer switch
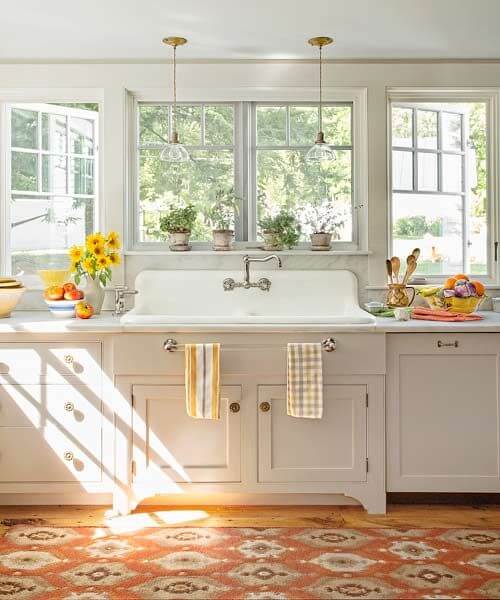
Lightening remodeling means adding flexible lighting and it is much more than adding more lighting. There are three categories of kitchen lighting: accent lighting (for setting a mood or illuminating glass-front cabinets), task illumination (for detailed tasks) and a dimmer switch allow an existing light to serve all three functions. High wattage bulb should be installed in your fixtures and can be slightly dimmed for romantic dinners or full blast for chopping carrots. It takes less than an hour and costs little to replace a standard switch with a dimmer. more special and expensive dimmer switches are needed for fluorescent and low-voltage lights.
[ratings]
